
Recently, in order to articulate a point in an article, I had to superimposed a grid on some photographs. I decided to use the GNU Image Manipulation Program or GIMP (2.10), with the ultimate aim of using it as a replacement to Adobe Photoshop. After all, its an open source package so cheap, as in free. Although, I plan to donate to the program, if and when I can. This blog post provides a quick overview of overlaying Grids in GIMP.
GIMP has really improved over the years and today I would regard it as a stable and consistent Image Processing package. To perform a grid overlay, on any image, one simply needs to access the grid dialogue, shown below.
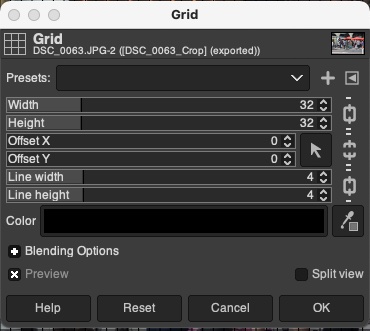 |
To navigate to the Grid dialogue do the following: Filters -> Render -> Pattern -> Grid
The Width item sets the number of horizontal pixels, between the grid lines. Likewise, the Height sets the number of vertical pixels, between the lines. The Line Width and Line Height set the horizontal and vertical line thickness, respectively. Not unexpectedly, the colour of the grid lines can be set using the Color item. I haven't used any of the other items, but it is not too hard to guess how they are used. For example, the Offset items are used to set the start positions of the horizontal and vertical grid lines, from an image's top, left (?). Also, what looks like locks, in the right-hand column, are used to decouple the pairs of settings. I'm not sure what the Blending Option does. |
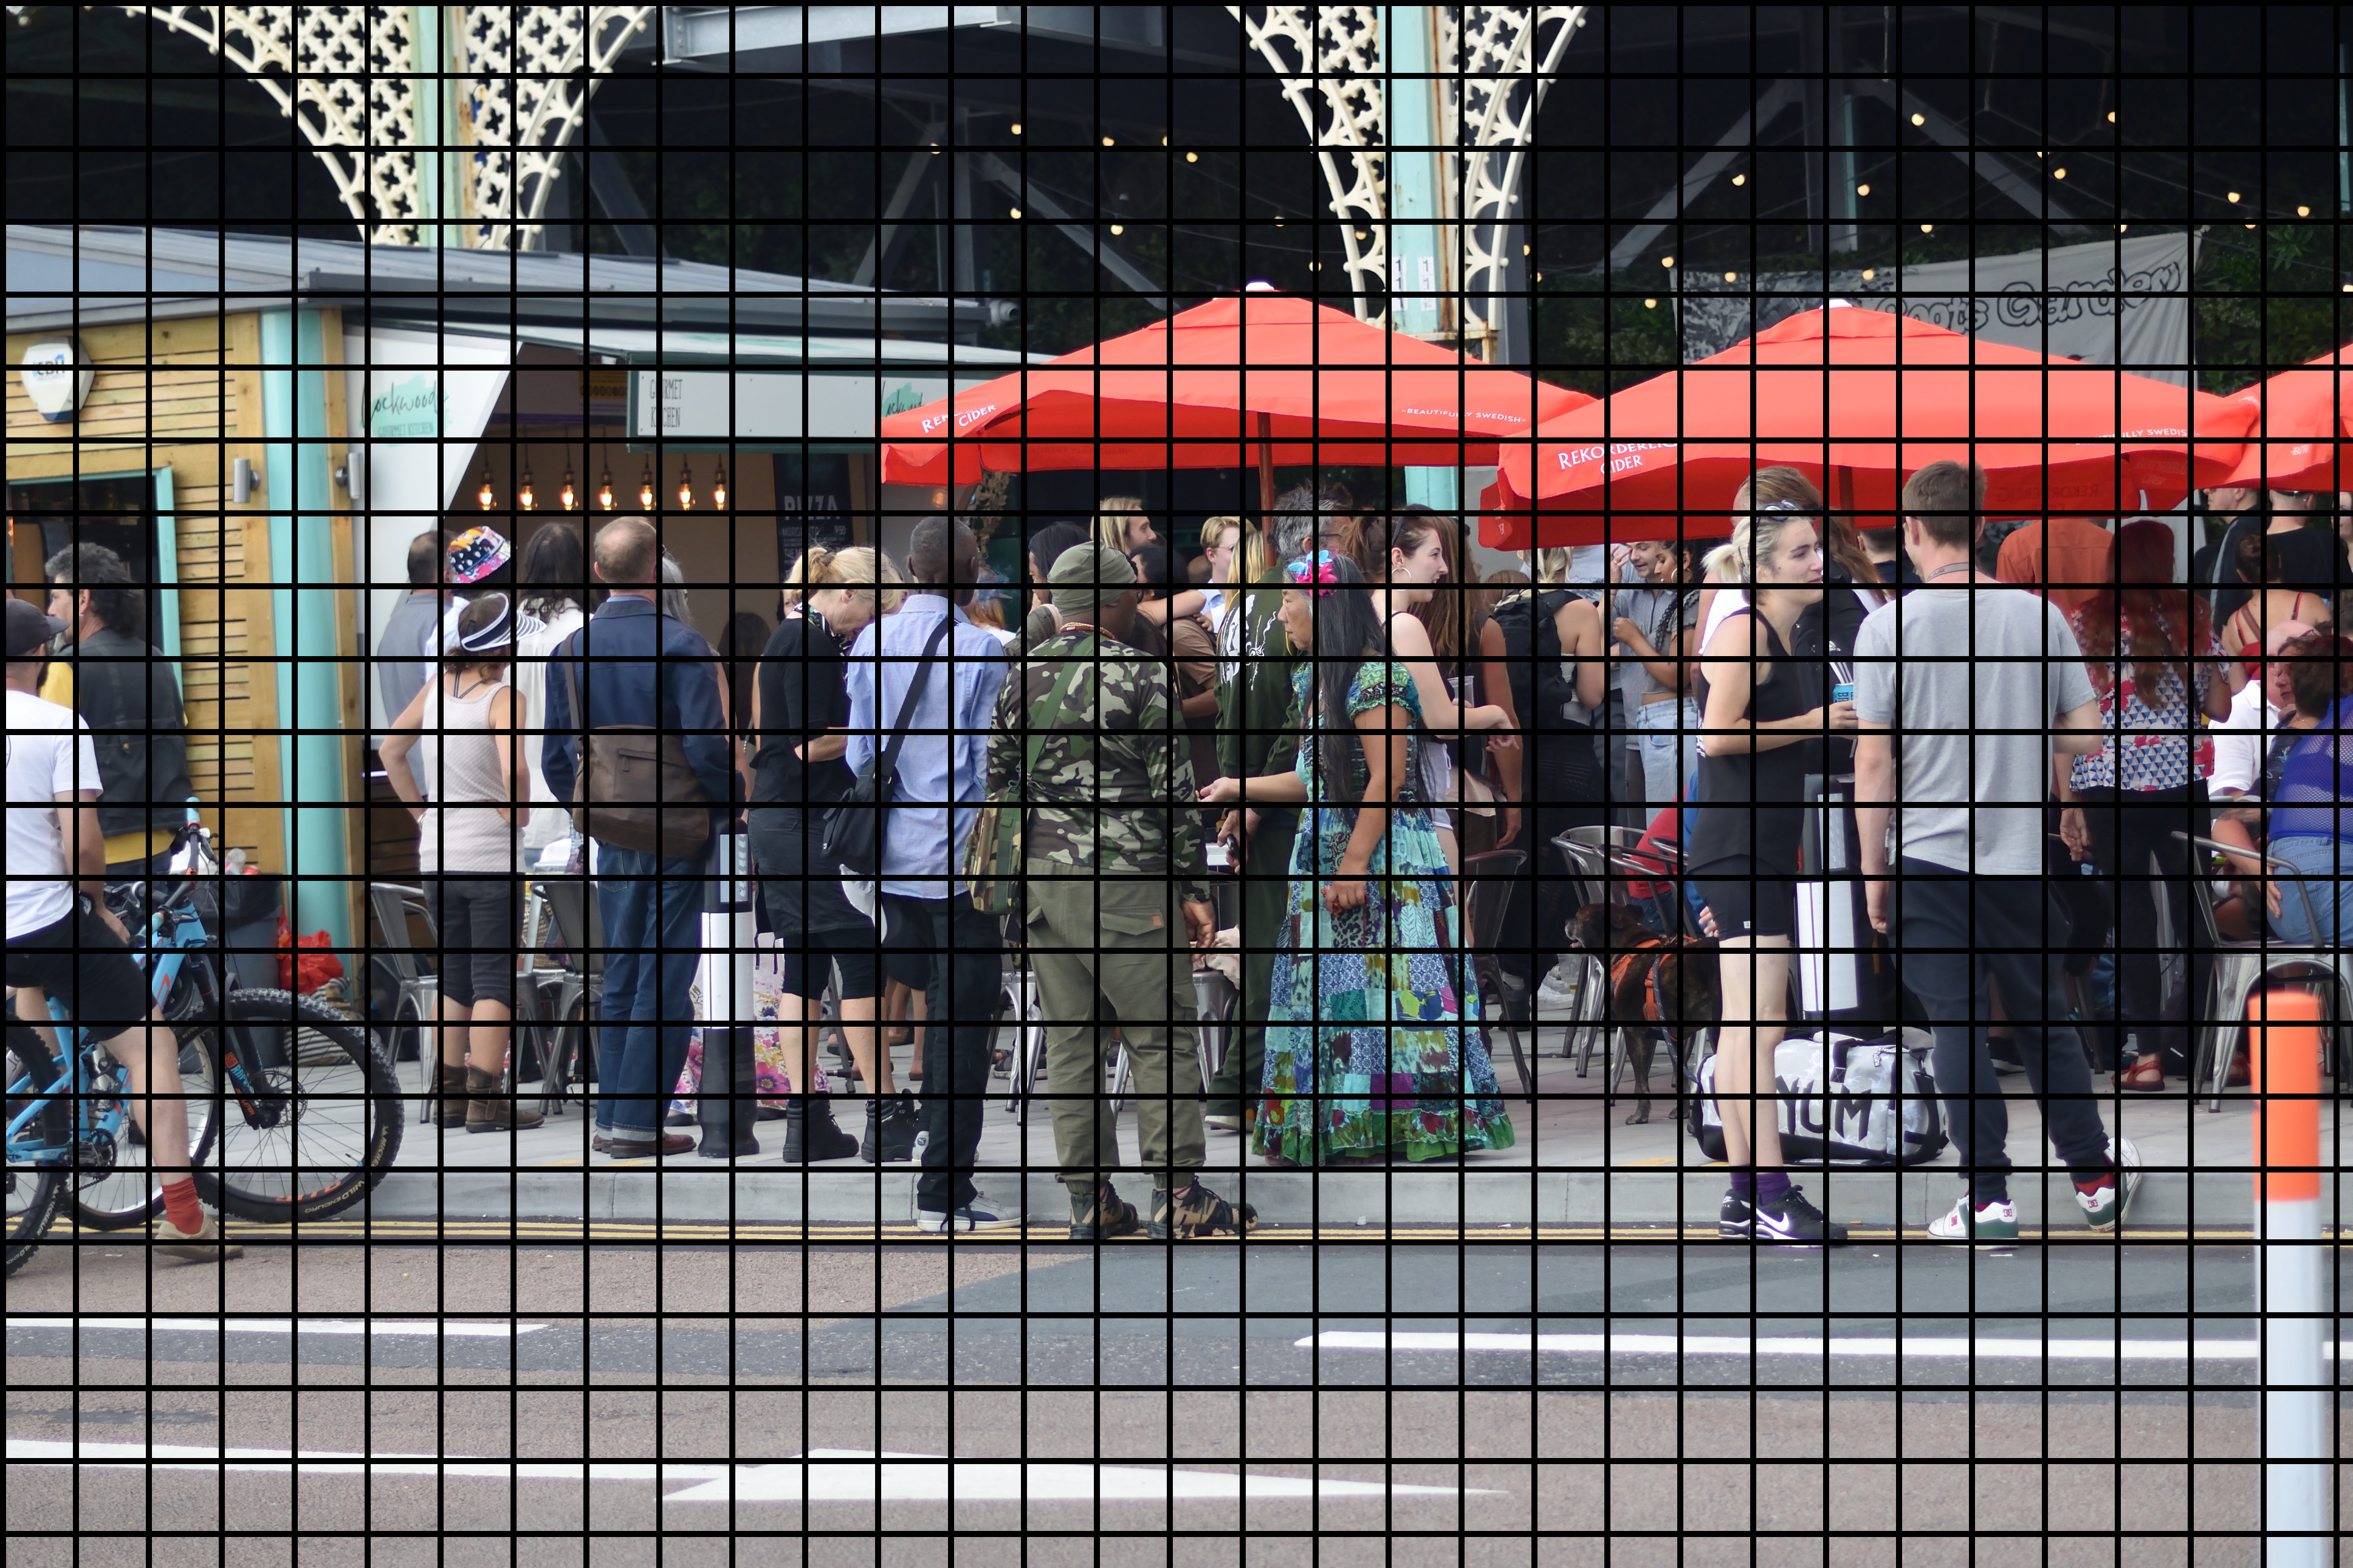
The before (left) and after (right) effects, of overlaying the grid on a photo, can be seen in the images, below. I actually used the grid in an article to explain a photography composition technique, known as the rule of thirds.
 |
 |
So that's it for this blog post. Like I mentioned, previously, the plan is to begin using GIMP like Photoshop for photo editing and I'll report back here, in future articles, when I do.