In this article I explain a method I use to adjust the exposure of a photograph, by using the Graphical Image Manipulation Program, aka GIMP, to modify the photo's histogram.
Introduction
 After writing the first article in the Sub 1GHz communications series I was a bit disappointed with the quality of the photographs I took to accompany the article. This was mainly because despite using a lightbox the photographs appeared to be slightly too dark. However, having recently completed some studies involving 2D signal and image processing, which had a small section on histogram image adjustment, I decided to put my new found knowledge to the test.
A solution used to brighten a photograph or image in general is to adjust or correct the exposure by manipulating the histogram. A histogram shows the number of pixels per unit brightness of an image, where the taller the peak, the more pixels of a particular brightness level there are in the image. The scale along the bottom of the histogram shows 0% brightness (black) on the left to 100% brightness (white) on the right. The aim of adjusting the histogram of an image is to obtain an even spectrum of brightness, as possible, across the image.
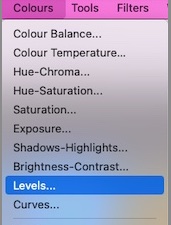
Typically, a photo editing package is used to modify a histogram, for example Photoshop or the Graphical Image Manipulation Package or GIMP. I decided to use the latter, as I am a big fan of open source software, as well as hardware (some of which will appear on this site soon). The histogram of the image is accessed by navigating to the Levels sub-menu item in the Colours menu, as seen in the image on the left, above.
Histogram Exposure Adjustment
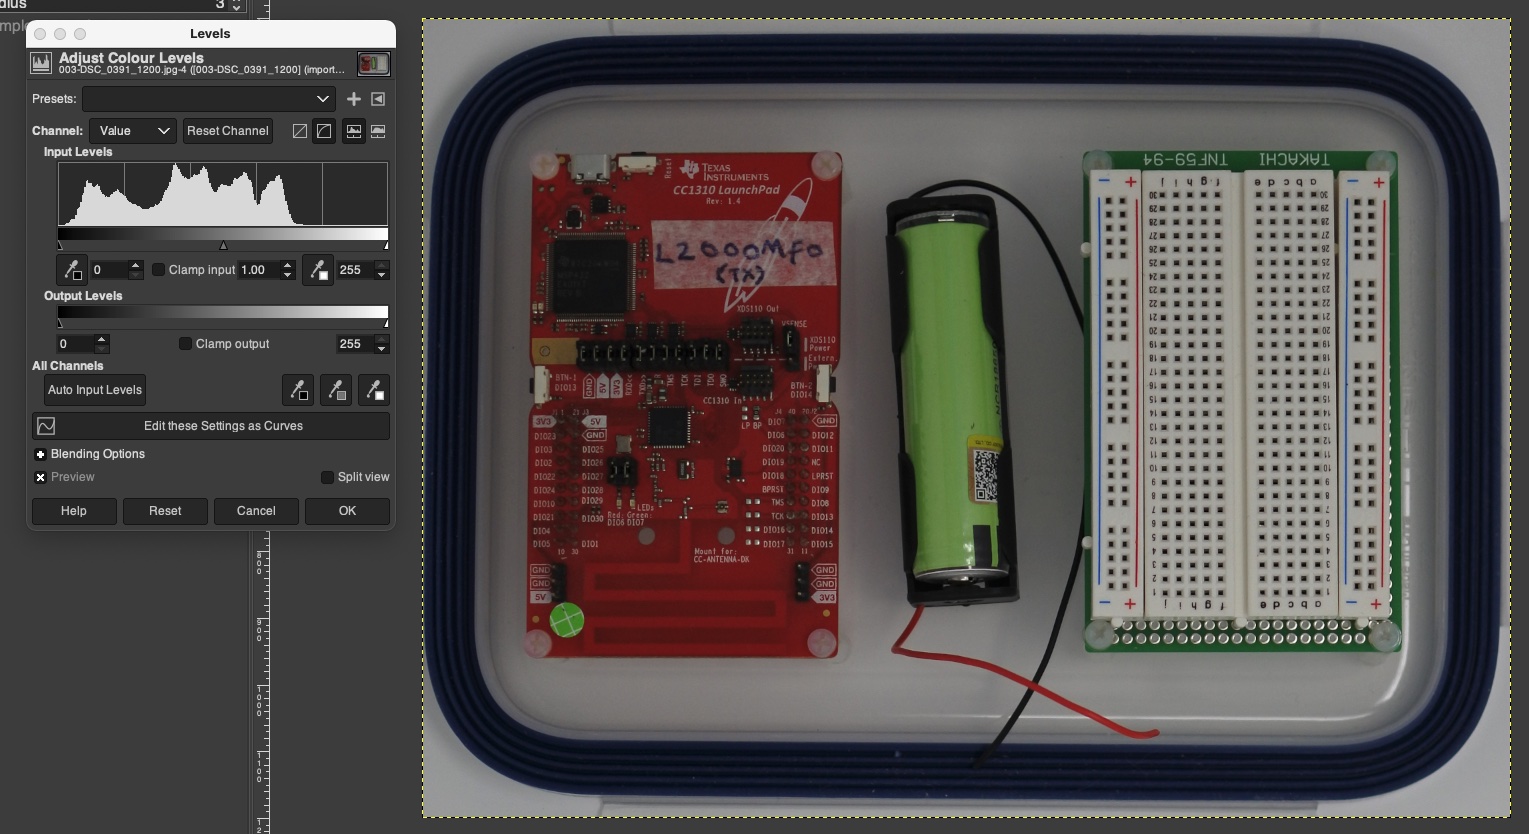
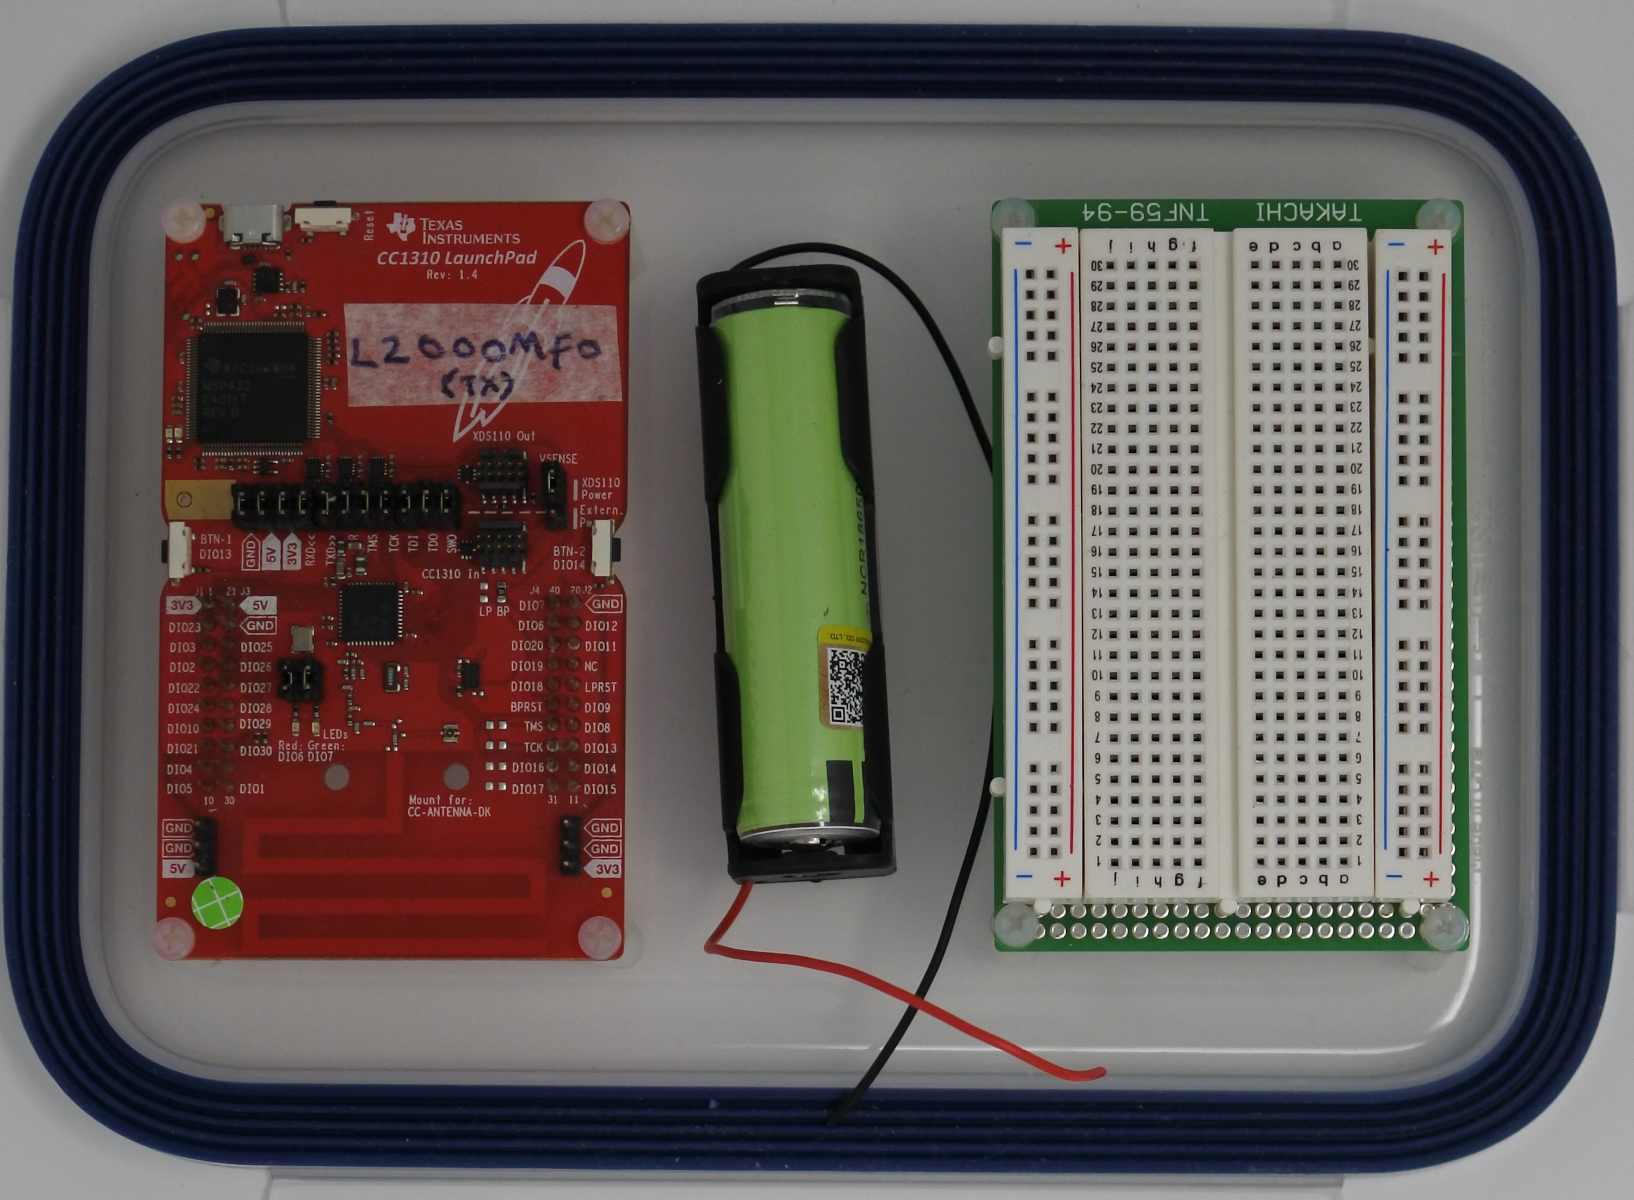
The combined image above shows the unsatisfying photograph of a Sub 1GHz transceiver on the right, along with its corresponding histogram on the left. The histogram shows that the image of the transceiver is not evenly distributed over the full spectrum of brightness. Hence, the photo appears darker than expected, as it is biased too much to the left. Condensing the pixlels to approximately 66% of the brightness of the photo.
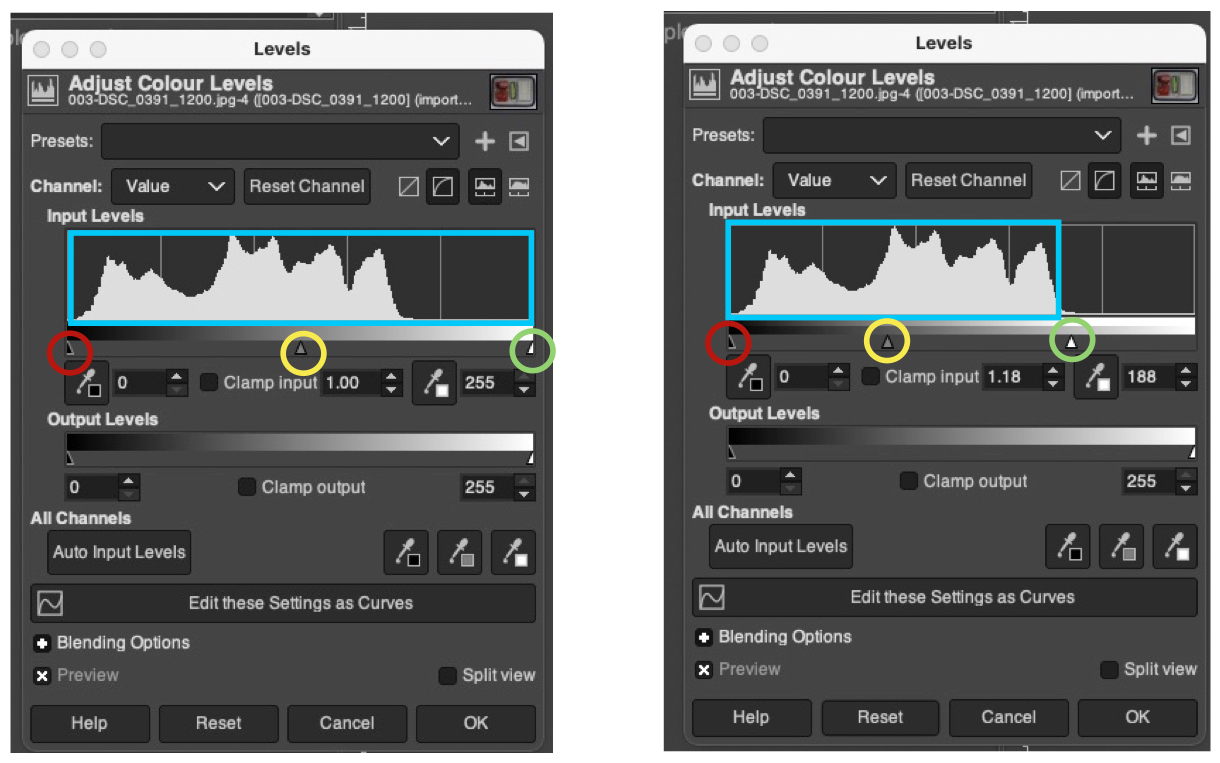
The image above shows the unmodified histogram on the left and the modified one on the right. The three circles, red, yellow and green have been added to highlight the three triangle control markers, used to adjust the histogram. The marker under the red triangle has not been adjusted, as the dark part of the image does not appear to need altering. The marker under the green circle has been moved from 255 to 188, removing the empty area of the bright part of the photo. This effectively spreads the pixels more uniformly over 100% brightness. The marker under the yellow circle is used to brighten or darken an image, by moving it to the right or left respectively.
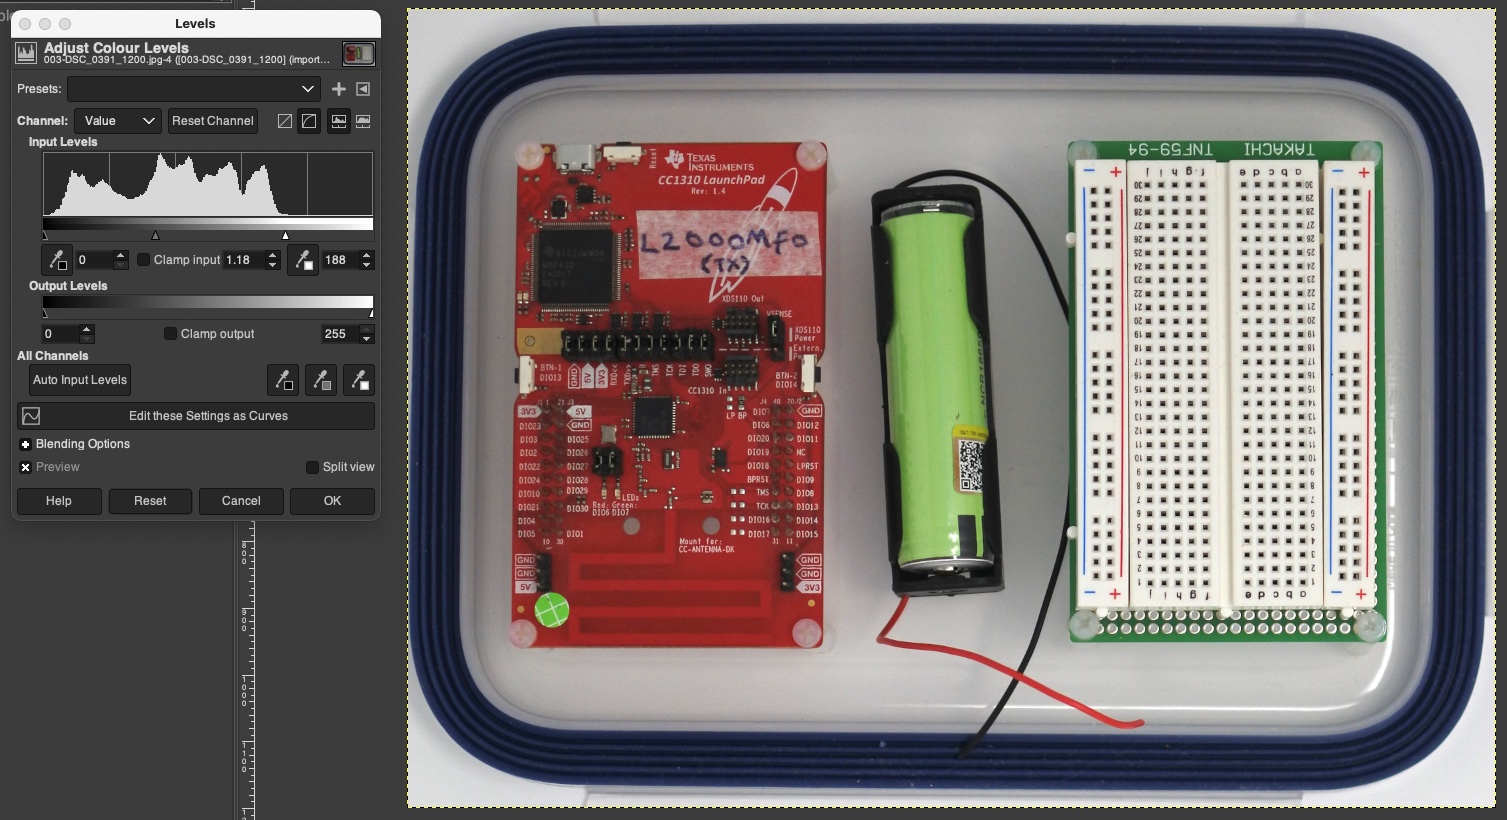
The combined image above shows the modified photograph of the Sub 1GHz transceiver on the right, along with its corresponding histogram on the left. The image can be seen to be much brighter, after the histogram adjustment. In addition to adjusting the exposure of an image, using the markers described above, the brightness can also be adjusted, by editing the settings as curves. I played around with this a little and it seems to be harder to use, although providing a more sophisticated level of control over the brightness.
 |
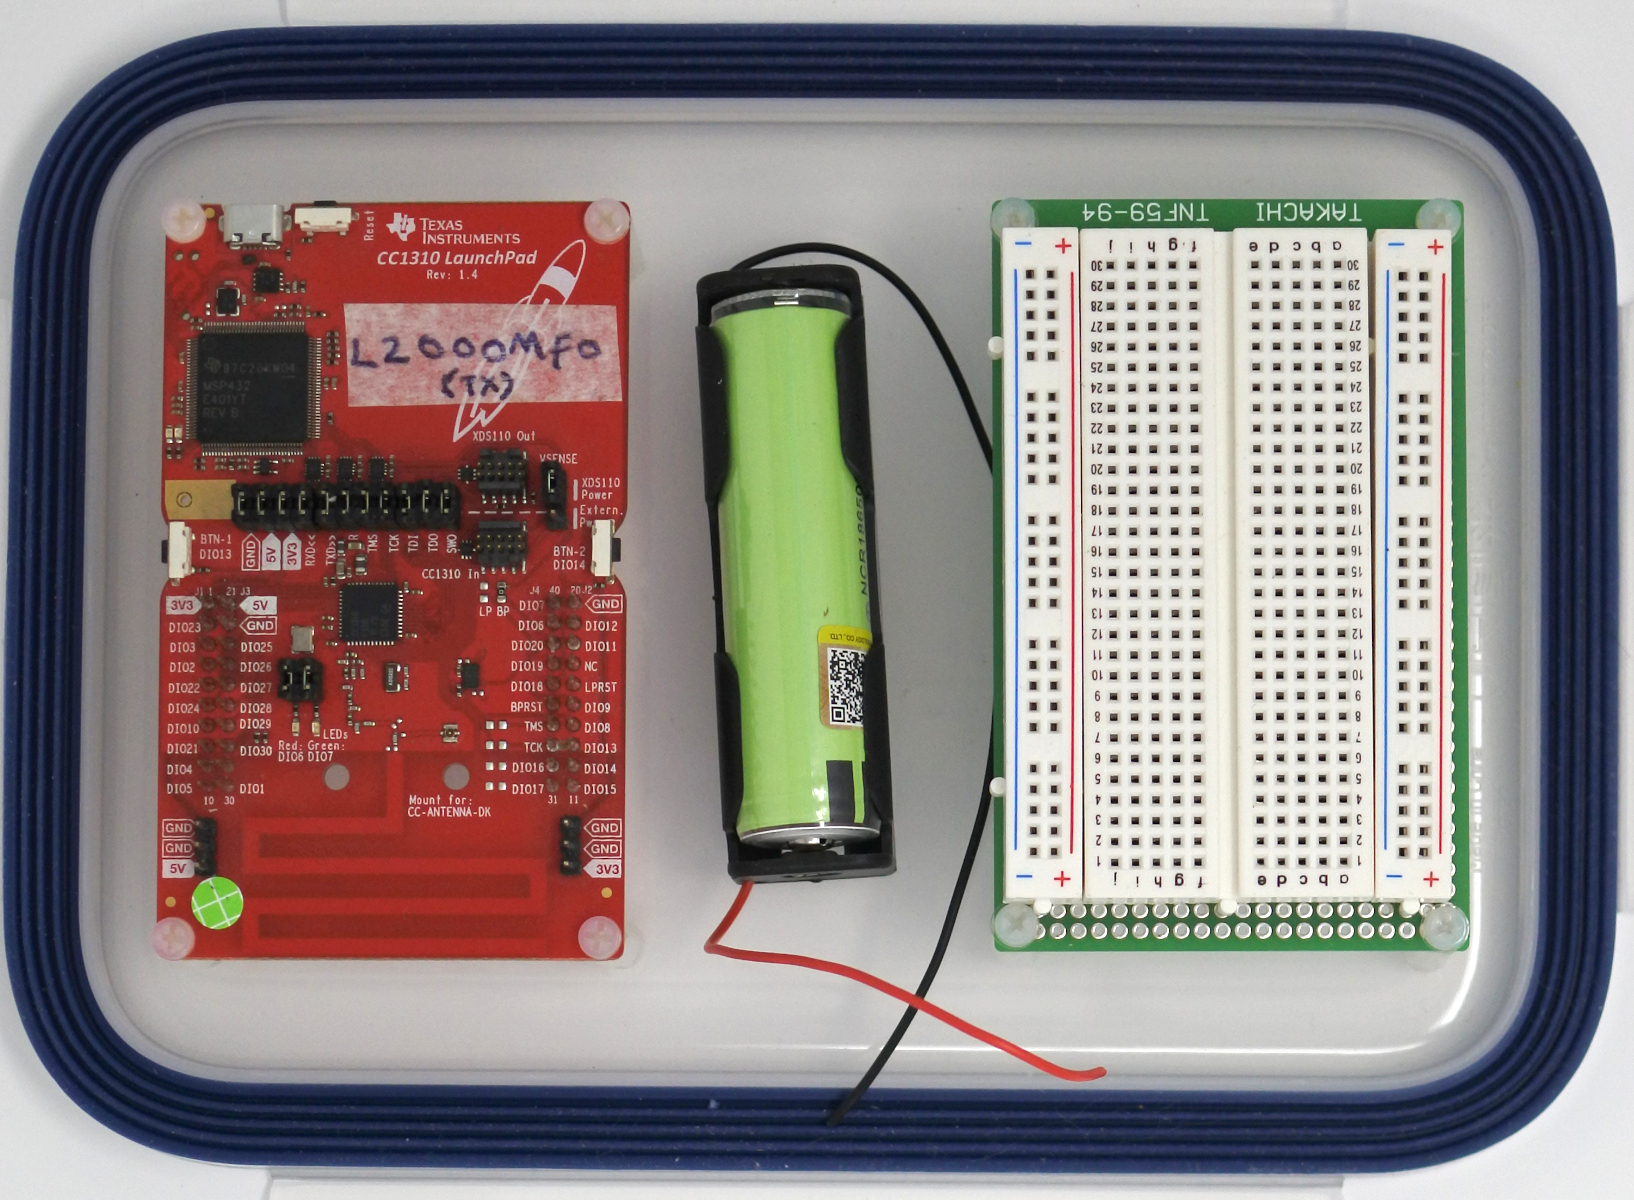 |
Here are the two images seen side-by-side. The unmodified one on the left and the corrected photo on the right; a very satisfying result. It should be noted that although this is a correct technique to use, modifying a large number of photographs for a blog post may require an additional number of hours of post editing time. However, if the end justified the means, then it should be a couple of extra hours of editing well spent.